


A timeless gingerbread cookie with a festive twist — crisp edges, warm spice, and a delicate embossed pattern that turns simple dough into something truly special.
Ingredients:
Directions
1. Cream the wet ingredients
In a large mixing bowl, beat together the butter and brown sugar until creamy. Approximately 1-2 minutes. Then add vanilla extract and eggs and beat to combine. Next, add your molasses. The molasses is going to make the mixture look weird and chunky, don’t worry! You haven’t done anything wrong. It will all come together when you add the dry ingredients.
2. Whisk the dry ingredients
In a separate bowl, whisk together the flour, salt, ginger, cinnamon, and cloves. Take a deep breath because it should smell like the holidays already. 🤩
3. Mix it all together
Add the dry ingredients to the wet mixture, stirring just until a smooth dough forms. If the dough feels too sticky, sprinkle in a little more flour, one tablespoon at a time, until it’s soft and just barely tacky.
4. Roll & emboss
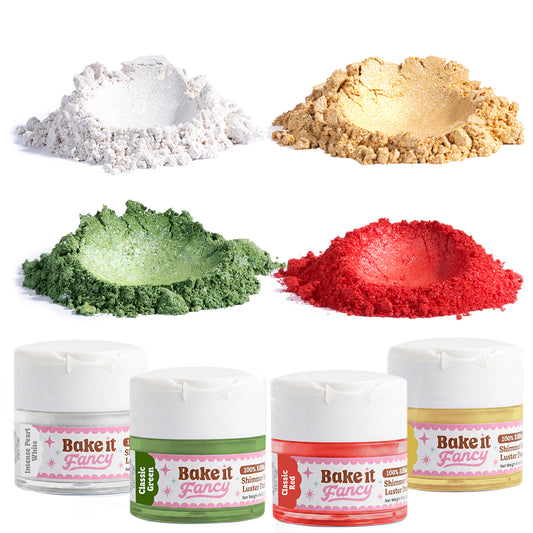
Chill your dough for about 20 minutes in the fridge to firm it back up, then roll it out to ¼ inch thick. Typically we’d dust with flour to prevent sticking — but flour can leave a pale cast on dark gingerbread. Instead, you can use cocoa powder.
Another option is dusting your dough with granulated sugar before stamping.
If using cocoa powder:
Lightly sprinkle cocoa over your dough and gently rub it across the surface before stamping.
Then also brush cocoa powder on to your cookie stamp or rolling pin and be sure to get into all the nooks and crannies. If there is too much powder, you can gently tap out the excess. But then be sure to do another round of light dusting to really make sure all the crevices are coated well.
Firmly press down on the stamp to embed it into the dough. Apply even pressure on the stamp with both hands to imprint the design.
Gently remove your stamp to release it from the dough. You may need to rock and wiggle a little bit to get it to release. If your dough sticks to the design in your stamp it could be because your dough got too warm and too soft or it’s too wet and needs more flour.
5. Cut your cookies & chill
Position your cookie cutter over your the embossed design, and cut out the cookie. Gather and re-roll any scraps so you can emboss more cookies.
Chill your embossed cookies on the cookie sheet in the freeze for approximately 30 mins.
6. Bake to perfection
Bake at 350°F (175°C) for 8–11 minutes, depending on how crisp you like them. A shorter bake gives a soft, chewy texture; a bit longer gives a nice snap. Watch closely because they go from golden to overdone quickly.
7. Cool & admire
Let the cookies rest on the sheet for a minute or two to set, then transfer to a wire rack to cool completely. The designs will firm up as they cool and look almost too pretty to eat (almost).